![]()
Stages of Restoration
of the
International Pipe
Ref: P0038
When this pipe arrived along with a batch of others from an auction of esate pipes I nearly consigned it to the "put aside for the future" box. Probably never to be looked at again. Was it worth restoring, I asked myself? Actually there were two identical pipes in the batch, both of which were in horrible condition.
This page illustrates some of the stages of restoration of this pipe.
The photo left shows the batch of estate pipes after they had arrived from the auction house. I had removed the stems for soaking in oxyclean to remove the oxidation.
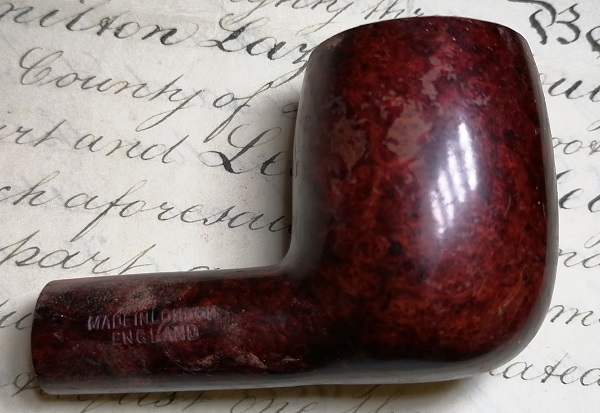
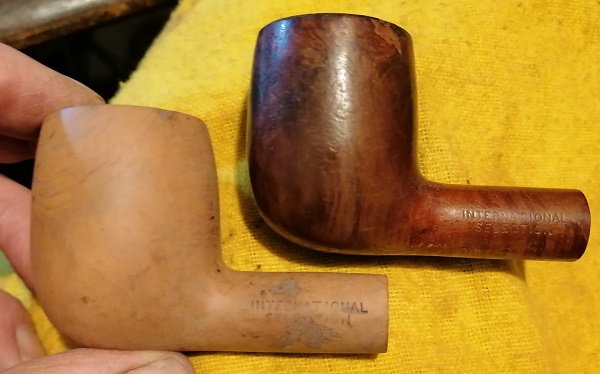
The pipe being discussed here is at the top right. The one with the shiny varnish finish. In my opinion pipes should never be varnished! The hard lacquer is sure to peel with time, and this one was certainly showing a lot of signs of that happening.
The horrible varnish lacquer on the surface of the bowl.. You can see where the varnish is peeling.
Not good!
A start on sanding to see what it was like beneath that varnish and dark stain.
Yes... it had promise. Perhaps.
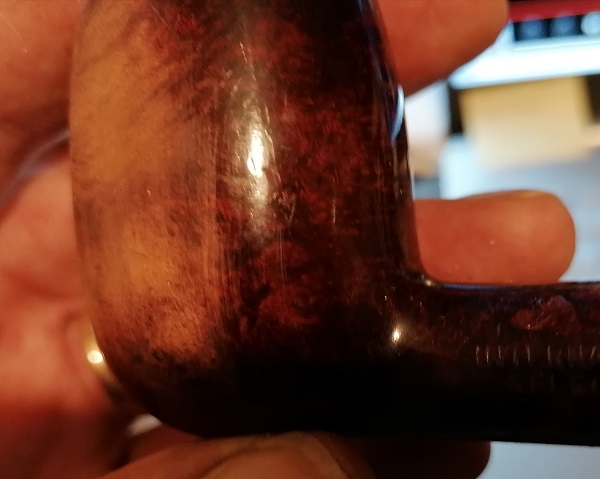
The true briar starts to be revealed.
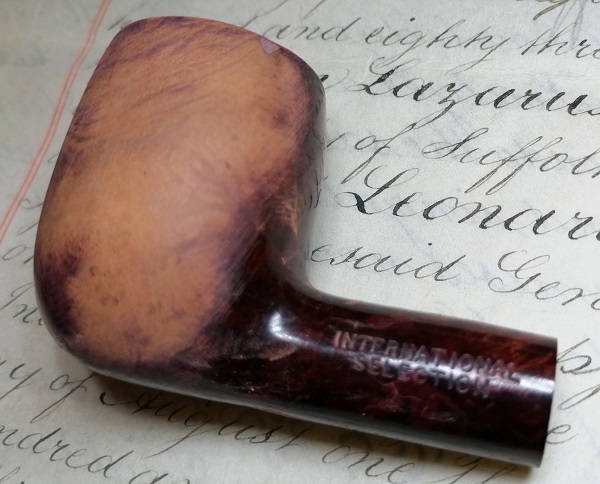
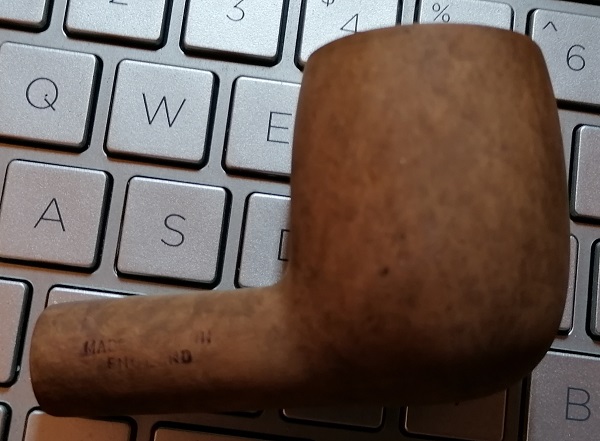
Sanding complete on the bowl. I started with 120 grit sandpaper, then 180 grit, 240 grit, and then 400 grit.
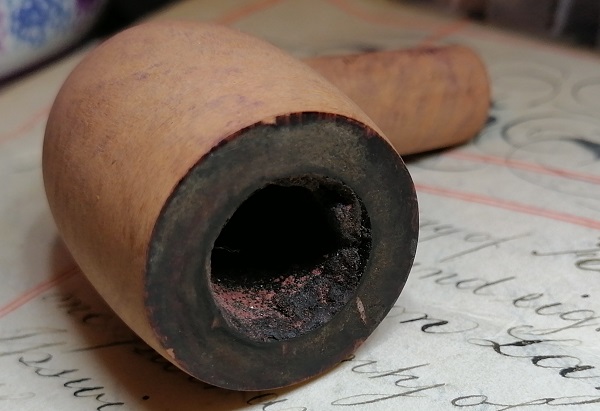
The top edge of the bowl still needs sanding, and the inside of the chamber needed a lot of attention. It was well and truly choked up with old carbon deposits which would need to be reamed out.
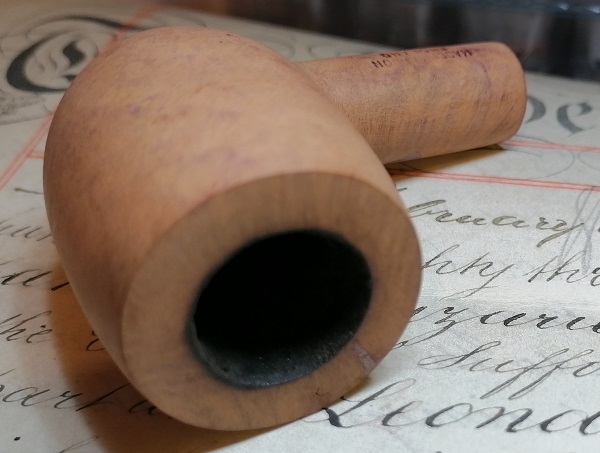
Much better !!
Pretty briar wood.
All of the old stain has also been sanded out.

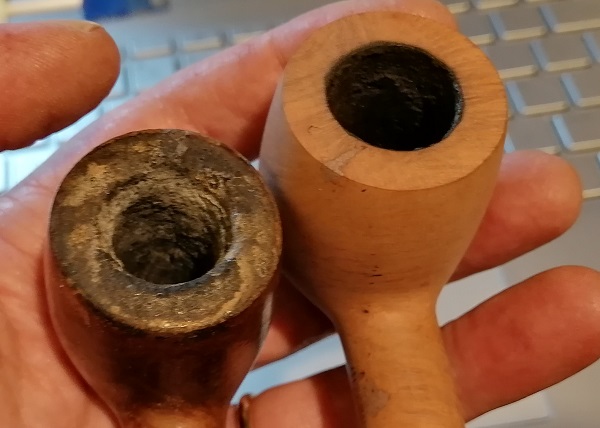
Comparison with the second identical pipe at this stage
The bowl after staining.
I applied three coats of Colron Dark Oak wood dye using a cloth, which were eagerly soaked up by the briar.
Decision to add another coat and go darker? Maybe not.
It looks pretty dull at this stage.
Just two coats of finish, polished out, and the briar comes to life! That will do nicely thank you!
The finish that I used was a liquid mix of alcohol, shellac and carnuba wax.
As this is a wax finish there is no danger of it ever peeling off as varnish would. It is impregnated into the wood. And it looks so much more natural too.
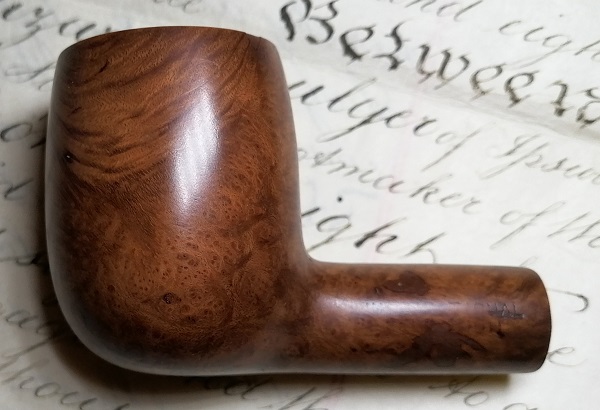
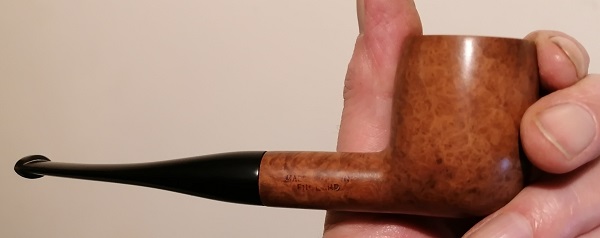
The finished pipe.
The stem has also been cleaned, sanded and polished.
Was it all worth the effort for an inexpensive pipe? I think so. It is now ready for a new lease of life and can be enjoyed again. It is better than it was originally when it left the manufacturer.
You know that you want to own it :-)